Updated: 6/1/2019
Operating System Deployment over PXE boot
Operating system deployment is a core functionality of SCCM. While there are other ways to deploy Windows 10, all the tools we need to configure the OS are already in SCCM. Being able to bring it all together makes OSD in SCCM flexible, powerful, and simple.
In this post we’ll do a minimalistic configuration of OSD over PXE. This means we can boot a workstation directly into the task sequence over the network. Eventually, after we cover more SCCM fundamentals, we will revisit this idea in a series more advanced posts to really highlight the potential of OSD.
Windows and Office Deployment Lab Kit does a couple convenient configurations if we’re using the Current Branch lab we configured in the previous post. If we’re using the tech preview lab we will need to do some additional set up.
The Requirements
-
A Windows 10 Enterprise 64-bit ISO.
-
The latest Windows Assessment and Deployment Kit and the Windows PE add-on for the ADK.
The Overview
For a no frills (non-MDT) OSD setup, I’m quite partial to Ricky Gao’s step-by-step guide. It provides the basic outline of our OSD configuration.
Active Directory and Windows ADK
Active Directory Users and Computers
We need an OU for our workstations to go. While we could use the builtin Computers OU, that doesn’t leave us any wiggle room later for things like applying Group Polices.
-
Log into the domain controller, HYD-DC1.
-
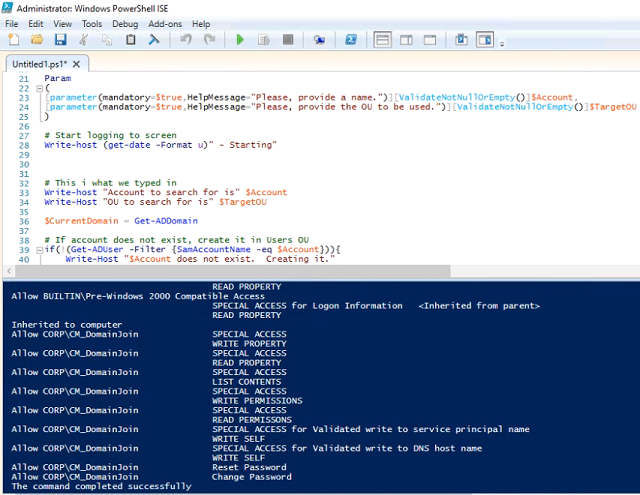
On the HYD-DC1, launch Windows Powershell ISE as administrator. Johan and Mikael have created a script to set permissions on the domain join account. This is so it can add computers to the Workstations OU during OSD.
-
Below is a modified version of Johan and Mikael’s script to suit our lab. It will now create the account and OU if they haven’t been manually created already. Paste the code into the top script pane, and hit F5 to run.
-
When it prompts for Account, type CM_DomainJoin. Hit enter.
-
When it prompts for target OU, type Workstations. Hit enter.
The Windows Assessment and Deployment Kit
We ended the SCCM lab setup by updating to the latest version of Current Branch (or the latest tech preview). So we’ll need to install the latest version of the Windows ADK so we’re fully compatible deploying the current version of Windows 10.
-
Log into the SCCM server, HYD-CM1.
-
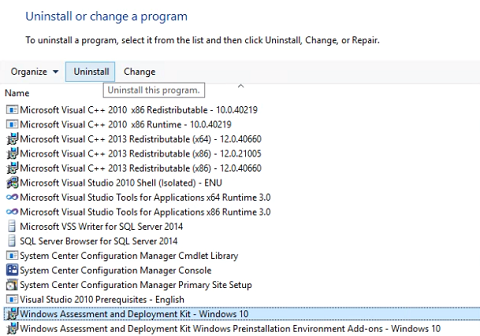
Open the Programs and Features control panel, and uninstall the existing Windows Assessment and Deployment Kit - Windows 10.
-
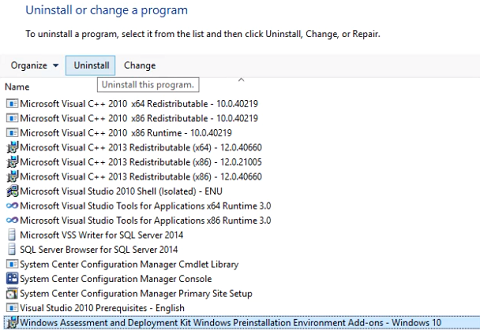
Uninstall the existing Windows Assessment and Deployment Kit Windows Preinstallation Environment Add-ons - Windows 10. Reboot HYD-CM1.
-
On the host system, download the latest Windows ADK and Windows PE add-on for the ADK. Jonathan Lefebvre of the System Center Dudes has a great guide on setting up the ADK for SCCM. Copy adksetup.exe and adkwinpesetup.exe to HYD-CM1.
-
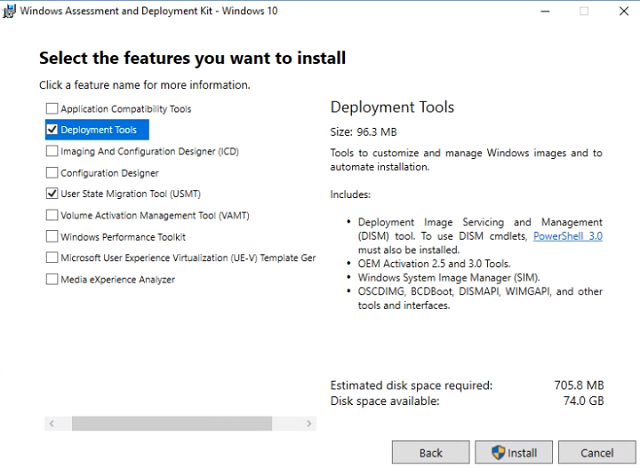
Run adksetup.exe. Accept the defaults and click Next until we reach the Select the features you want to install section. Uncheck everything except Deployment Tools and User State Migration Tool (USMT). Click Install. When it completes, click Close.
-
Run adkwinpesetup.exe. Accept all defaults again at each screen and install. When the install completes, click Close.
-
Once the install is complete, click Close. Reboot the SCCM server.
PXE
The Boundary
Boundaries and Boundary groups are how we logically define which sites (servers) workstations use. For the lab, we only need to configure one boundary and boundary group.
-
Log into the SCCM server, HYD-CM1.
-
In the SCCM console, expand the Administration -> Hierarchy Configuration node.
-
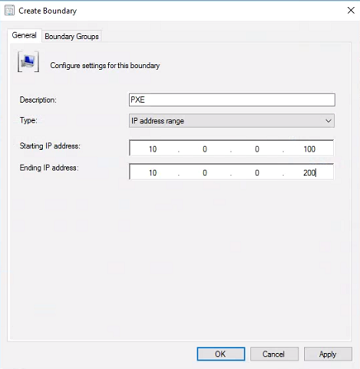
Right-click Boundaries and select Create Boundary.
-
General tab - Set description to PXE. Change Type to IP address range. We will use the DHCP range from the domain controller. Set Starting IP address to 10.0.0.100 and set Ending IP address to 10.0.0.200. Click OK.
For reference, here is what the DHCP address pool looks like:

-
Expand the Administration -> Hierarchy Configuration node and select Boundary Groups. The current branch lab we set up has the boundary group configured already. If we’re using the tech preview lab, we need to create the boundary group manually.
-
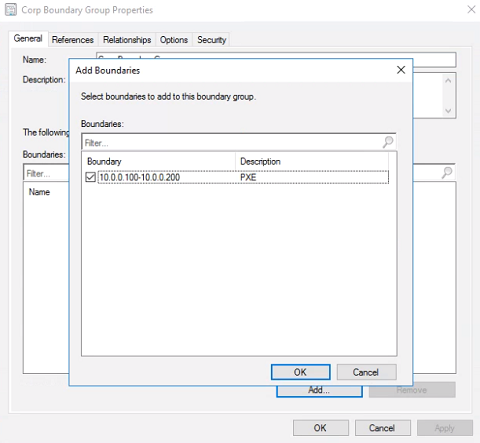
If the Corp Boundary Group doesn’t exist yet, click Create Boundary Group. Set the name and description to Corp Boundary Group. If it does exist, right-click it and select Properties.
-
General Tab - Under Boundaries… click Add… and check our PXE boundary. Click OK. Select the References tab.
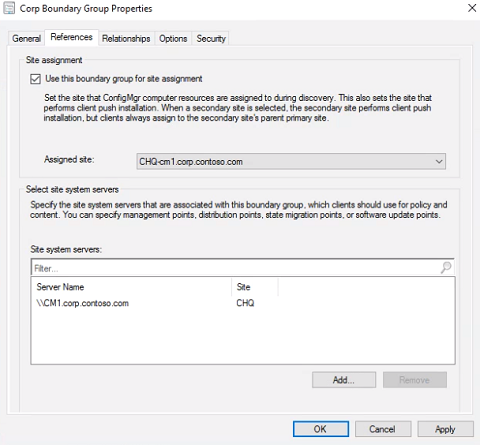
-
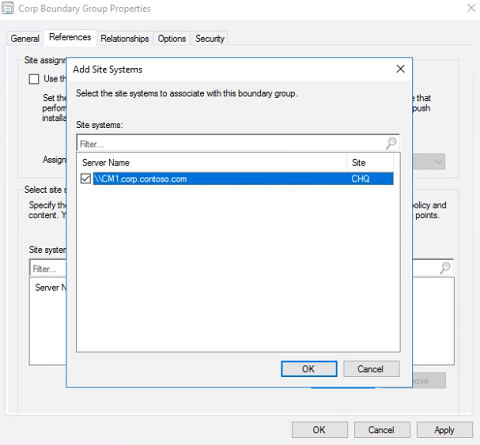
References Tab - If there are not Site system servers listed, click Add and check CHQ. Click OK. Make sure Use this boundary group for site assignment is checked and click OK.
The Distribution Point
In SCCM, distribution points are where workstations get their content. This is true for OSD as well, and we need our DPs to function as PXE servers.
-
In the SCCM console, navigate to the Administration -> Distribution Points node.
-
Right-click CM1.CORP.CONTOSO.COM and select Properties.
-
General tab - If we’re using SCCM Current Branch, leave HTTP selected and check Allow clients to connect anonymously.
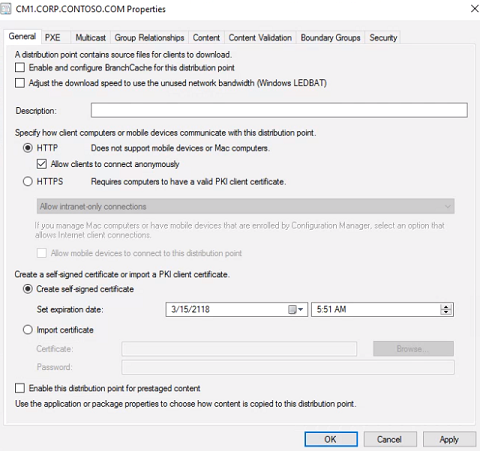
-
Communication tab - If we’re using the Tech Preview, the Allow clients to connect anonymously option is on the Communication tab. Check it.
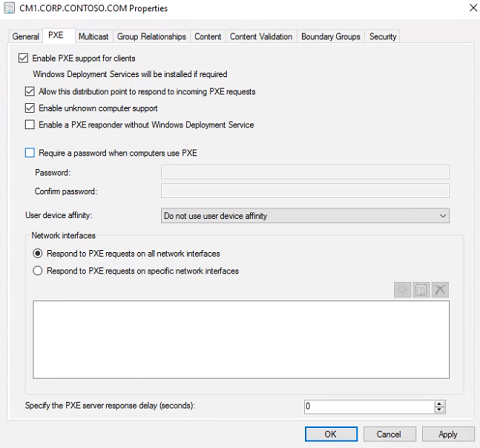
-
PXE tab - To automatically install WDS and configure PXE, check Enable PXE support for clients and click Yes when the Review Required Ports for PXE warning dialog pops up.
Additionally check Allow this distribution point to respond to incoming PXE requests AND Enable unknown computer support, click OK when the Configuration Manager dialog box pops up.
Uncheck Require a password when computers use PXE. Click OK.
Sources
The package source share
We’ll use Odd-Magne’s script to create the folder structure, share it, and grant permissions to our network access account.
-
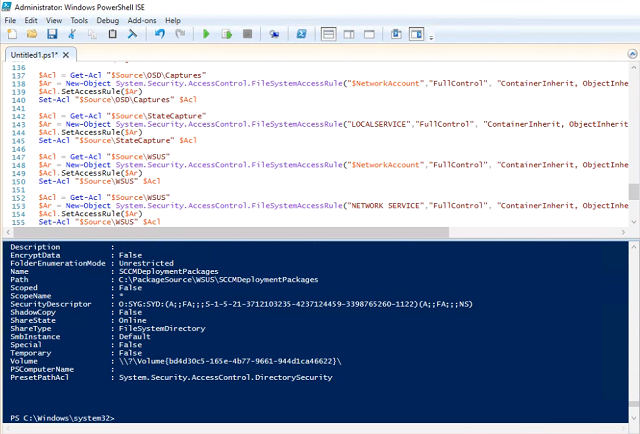
On the SCCM server, launch Windows Powershell ISE as administrator.
-
In the top script pane, paste the following code. The script is customized to our folder path and network access account name. Press F5 to run.
The Operating System Image
We need an operating system image as the basis of OSD. There are several guides on creating a fully patched reference image, but we’re just going to use the WIM file off of the ISO for now and revisit reference images in a later tutorial.
-
On the host system, mount the Windows 10 Enterprise ISO. If your host system is Windows 10 you can just double click the ISO.
-
Right-click the drive letter of the mounted ISO, and select Properties.

-
Sharing tab - Click Advanced Sharing. Check Share this folder and note the Share name. Click OK. Click Close.

-
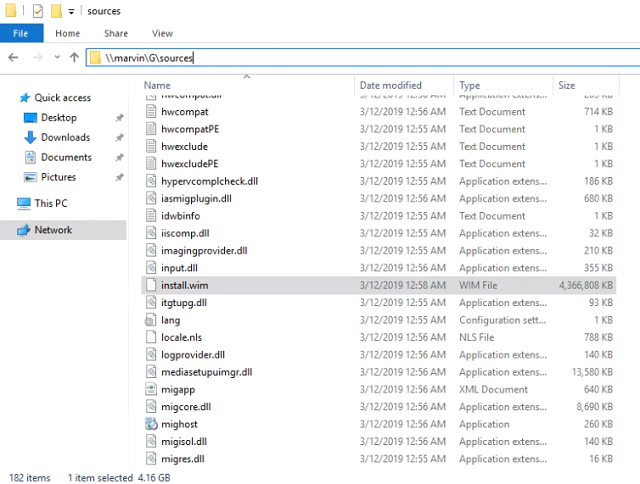
On HYD-CM1 (the SCCM server) navigate to \\<host system name>\<share name>\sources. Right-click install.wim and select copy.
-
Navigate to C:\PackageSource\OSD\OSImages and paste the install.wim to this folder.

-
From the SCCM console expand the Software Library -> Operating Systems node.
-
Right-click Operating System Images and select Add Operating System Image.
-
Data Source - In the path field type \\cm1\PackageSource\OSD\OSImages\install.wim. Check Extract a specific image index from the specified WIM file and select image index 3 - Windows 10 Enterprise. If we’re using the Tech Preview, select x64 and click Next.

-
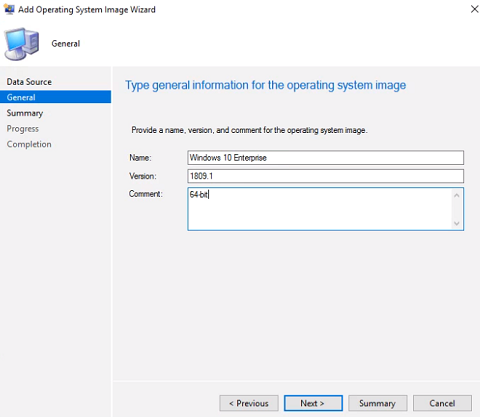
General - Set the name to Windows 10 Enterprise. Type the Windows 10 build in the Version field. Optionally we can add a comment. Click Next.
-
At the Summary screen, click Next. At the Completion screen, click Close.
-
Right-click the OS image we just created and select Distribute Content. At the General screen click Next.
-
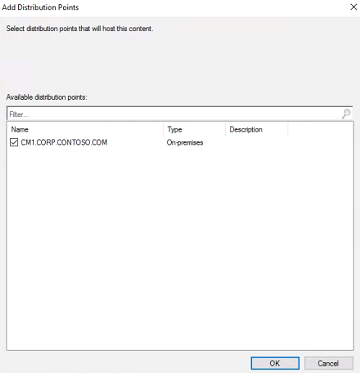
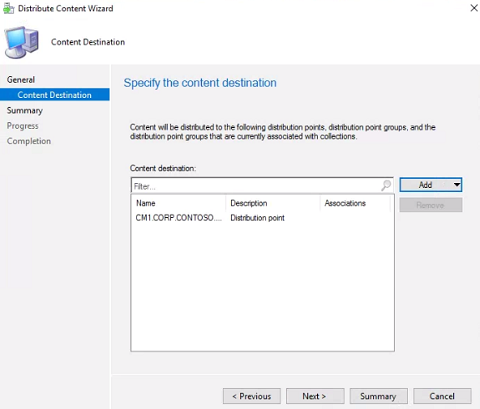
Content Destination - Click Add -> Distribution Point, and check CM1.CORP.CONTOSO.COM. Click OK, then click Next.
-
At the Summary screen, click Next. At the Completion screen, click Close.
The Boot Image
SCCM requires a WinPE image to initiate the task sequence. This is a low level Windows OS that runs in the beginning of a task sequence when we PXE boot.
-
From the SCCM console, expand the Software Library -> Operating Systems node.
-
Click on Boot Images. If we’re using the Tech Preview lab, right-click the boot image and select Distribute Content. Just like with the OS image, at the Content Destination wizard click Add and select Distribution Point. Check CM1.CORP.CONTOSO.COM and click OK. Click Next. At the Summary screen click Next. At the Completion screen click Close.
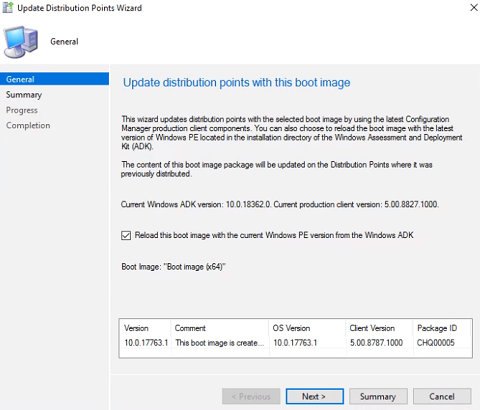
If we’re using the Current Branch lab the boot images are already distributed. Right-click Boot image (x64) and select Update Distribution Points.
Check Reload this boot image with the current Windows PE version from the Windows ADK. Click Next. At the Summary screen click Next. At the Completion screen click Close.
-
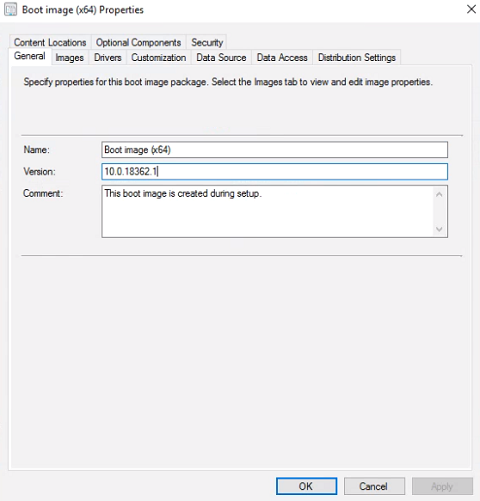
General tab - Right-click Boot image (x64) and select Properties. Set the Version to the ADK OS Version.
-
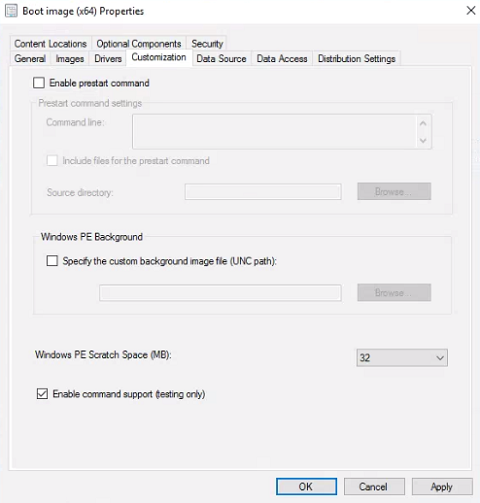
Customization tab - Check Enable command suppport (testing only). This allows us to press F8 during the task sequence to bring up the command prompt, which is useful for troubleshooting.
-
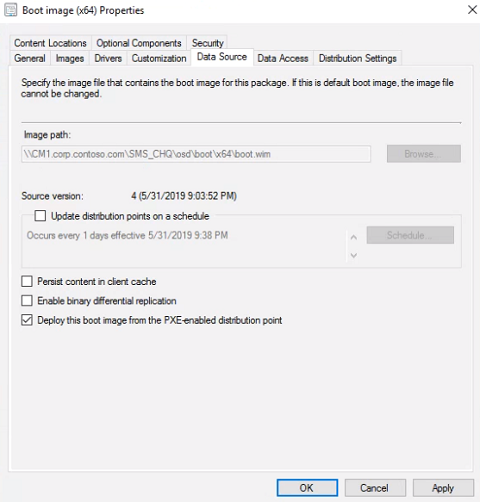
Data Source tab - Confirm that Deploy this boot image from the PXE-enabled distribution point is already checked. If we’re using the Tech Preview lab, select x64. Click OK.
-
We’ll be prompted to update the distribution points. Click Yes, and the Update Distribution Points Wizard will launch.
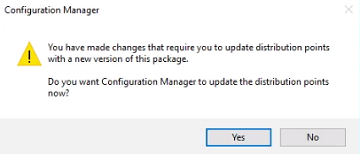
-
When the wizard launches, click Next. At the Summary screen click Next again. At the Completion screen click Close.
-
Repeat steps 2-8 with Boot image (x86).
Optionally Ricky Gao’s guide creates a new Configuration Manager Client package. We will skip for our lab.
The Task Sequence
Creating the task sequence
We can now create our Windows 10 task sequence and deploy it.
-
From the SCCM console, expand the Software Library -> Operating Systems node.
-
Right-click Task Sequences and select Create Task Sequence.
-
Choose Install an existing image package and click Next.
-
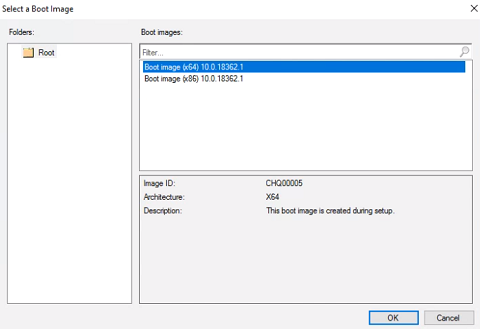
Set the Task sequence name to Windows 10 and click Browse. Select Boot image (x64) and click OK. Click Next

-
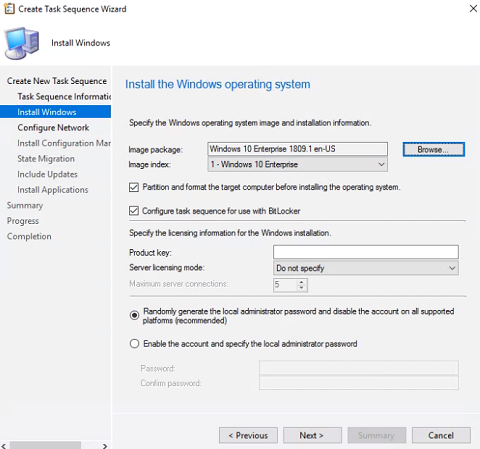
For the Image package click Browse and select the OS image we created earlier. If the image contains multiple indexes, choose Windows 10 Enterprise. Click Next.
-
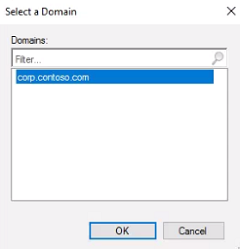
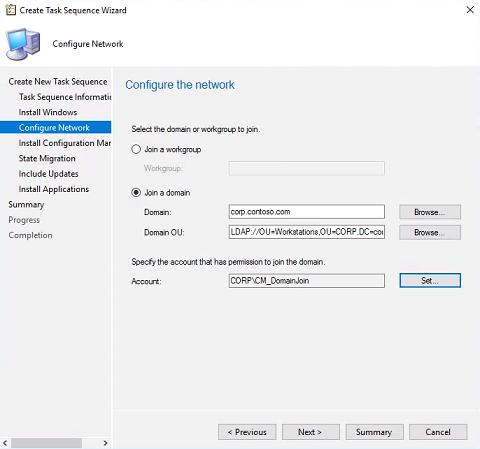
Choose Join a domain. For Domain click Browse and select corp.contoso.com. Click OK.
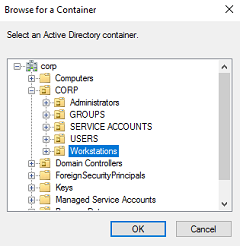
-
For Domain OU click Browse. Expand CORP and choose the Workstations OU we created earlier. Click OK.
-
For Account click Set. Set the User name to CORP\CM_DomainJoin and enter P@ssw0rd as the Password. Click Verify, and click Test connection.
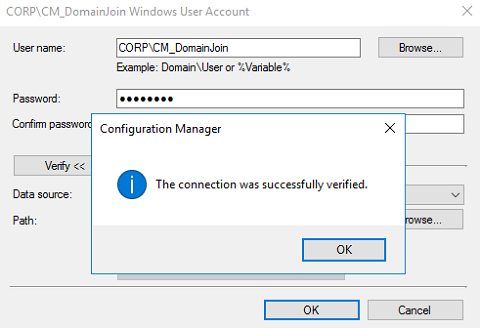
-
Click OK, click OK again, and click Next.
-
At the Install the Configuration Manager client wizard, leave the default and click Next.
-
Since we’re doing a bare metal install, we don’t need USMT. Uncheck Capture user settings, uncheck Capture network settings, and uncheck Capture Microsoft Windows settings. Click Next.
-
Click Next through the Updates, Applications, and Summary screens. We’ll cover all of that in a later post which we’ll eventually link from this one. At the Completion screen, click Close.
Deploying the task sequence
We need to deploy our task sequence to the All Unknown Computers collection so that we can image bare metal workstations.
-
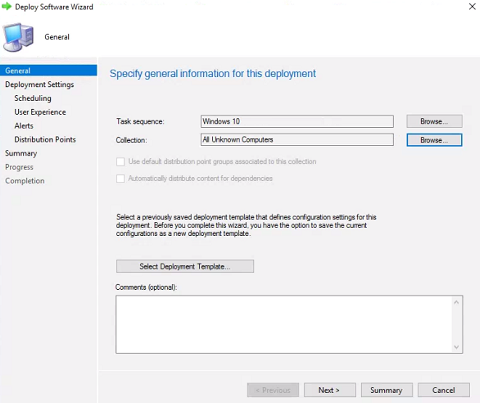
Right-click the Windows 10 task sequence we just created and select Deploy.
-
For the Collection click Browse. Read the warning and click OK. Select All Unknown Computers and click OK. Click Next.
-
Leave the purpose as Available. Set Make available to the following to Only media and PXE and click Next.
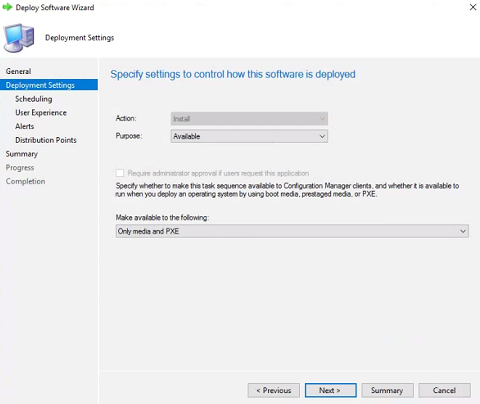
-
Leave the rest of the wizard as default and click Next until you reach the Completion screen. Click Close.
Imaging
It’s time to test all our hard work. We’ll create a brand new VM and image it over PXE.
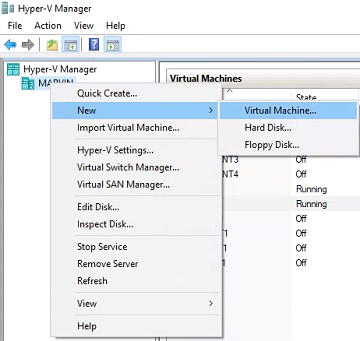
-
On the host machine, open the Hyper-V console. Right-click your host machine and select New -> Virtual Machine.
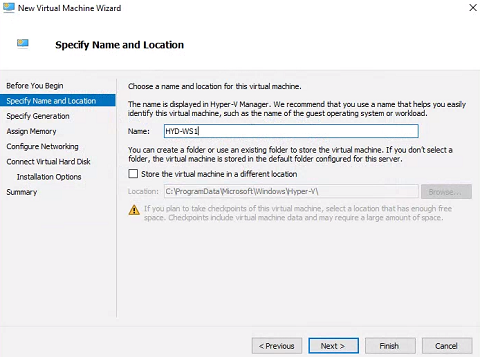
-
If New Virtual Machine wizard takes you to the Before You Begin screen, click Next. Name the VM HYD-WS1 and click Next.
-
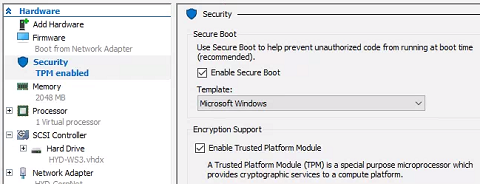
Select Generation 2. This will make it UEFI based as opposed to BIOS, and allows us to do Secure Boot. Click Next.
-
Set the Startup memory to 2048 or higher. Click Next.

-
Change the Connection to our internal virtual switch HYD-CorpNet. Click Next.
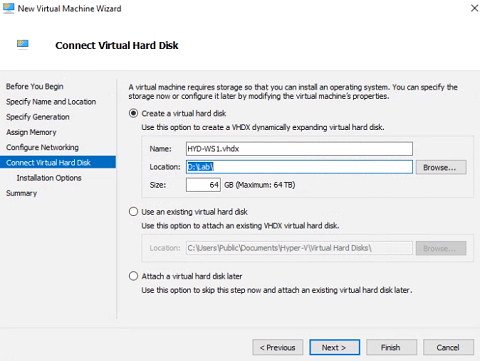
-
Set the Location to the large and fast drive where your other VMs are located. Change the Size to 64GB. Click Next.
-
Set the installation option to Install an operating system from a network-based installation server. Click Next.
-
At the Summary screen click Finish.
-
In the Hyper-V console, right-click our new virtual machine HYD-WS1 and select Settings. Click on Security, and check Enable Trusted Platform Module. Click OK.
-
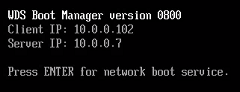
HIT THE SWITCH - Open HYD-WS1 and click Start. Since we’re using an Available deployment, we will need to press ENTER to PXE boot.
-
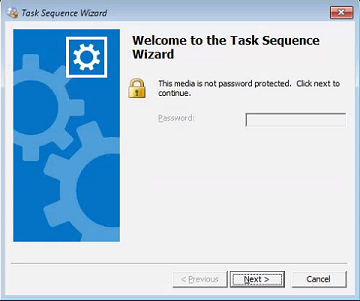
The boot image will download and boot WinPE. At the task sequence Welcome screen, click Next.
-
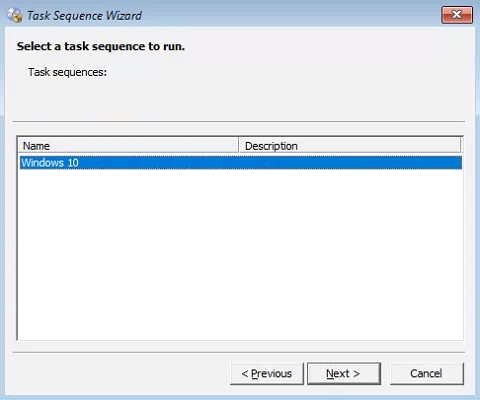
Select the Windows 10 task sequence we created earlier and click Next.
-
Wait and watch as the task sequence performs each step.
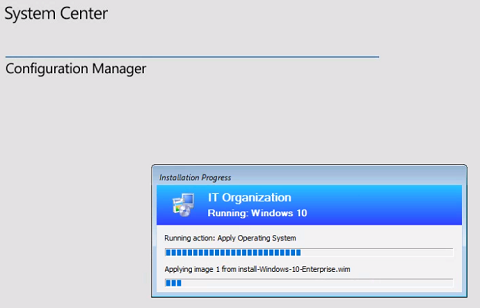
-
That’s it, we’ve successfully deployed a bare metal workstation over PXE with SCCM. Log into HYD-WS1 and verify that it’s on the domain, BitLocker is on, and the Configuration Manager control panel is there. Make note of the computer name, open the SCCM console on HYD-CM1 and confirm the new workstation shows up under Devices.
Congratulations again! Now, we have an SCCM environment we can populate with workstations to manipulate.
Next up - Patching with SCCM and WSUS